Build Your Own Lean-To Shed with Recycled Wood: A Step-by-Step Guide
Tired of overflowing garages and cluttered yards? Yearning for a charming, functional storage solution without breaking the bank? Then building your own lean-to shed using recycled wood is the perfect project for you! This guide provides a detailed, step-by-step approach, turning reclaimed lumber into a practical and eco-friendly addition to your property. Prepare to get your hands dirty and unleash your inner builder!
Planning and Preparation: Laying the Foundation for Success
Before you even touch a piece of wood, meticulous planning is key. First, determine the size and location of your future shed. Consider its intended use â€" storing gardening tools, bicycles, or firewood? This dictates the necessary dimensions. Next, secure all necessary permits from your local authorities. Failing to do so can lead to costly fines and even demolition. Finally, gather your materials. This includes reclaimed wood of varying lengths and thicknesses (inspect carefully for rot or structural weakness), screws, nails, a level, measuring tape, saw, post hole digger, concrete mix, and protective gear like gloves and safety glasses. Sourcing your wood from demolition sites, salvage yards, or even friends and neighbors adds to the project's charm and reduces environmental impact.
Building the Frame: Constructing the Shed's Skeleton
Preparing the Base
Begin by preparing the ground. Clear the area of vegetation and debris. For a lean-to, you'll need a solid, level base. Dig post holes at each corner (and any intermediate points for added support depending on the size of your shed), ensuring they're deep enough to securely anchor your posts. Fill the holes with concrete, inserting your pressure-treated posts firmly into the mix. Allow the concrete to fully cure before proceeding.
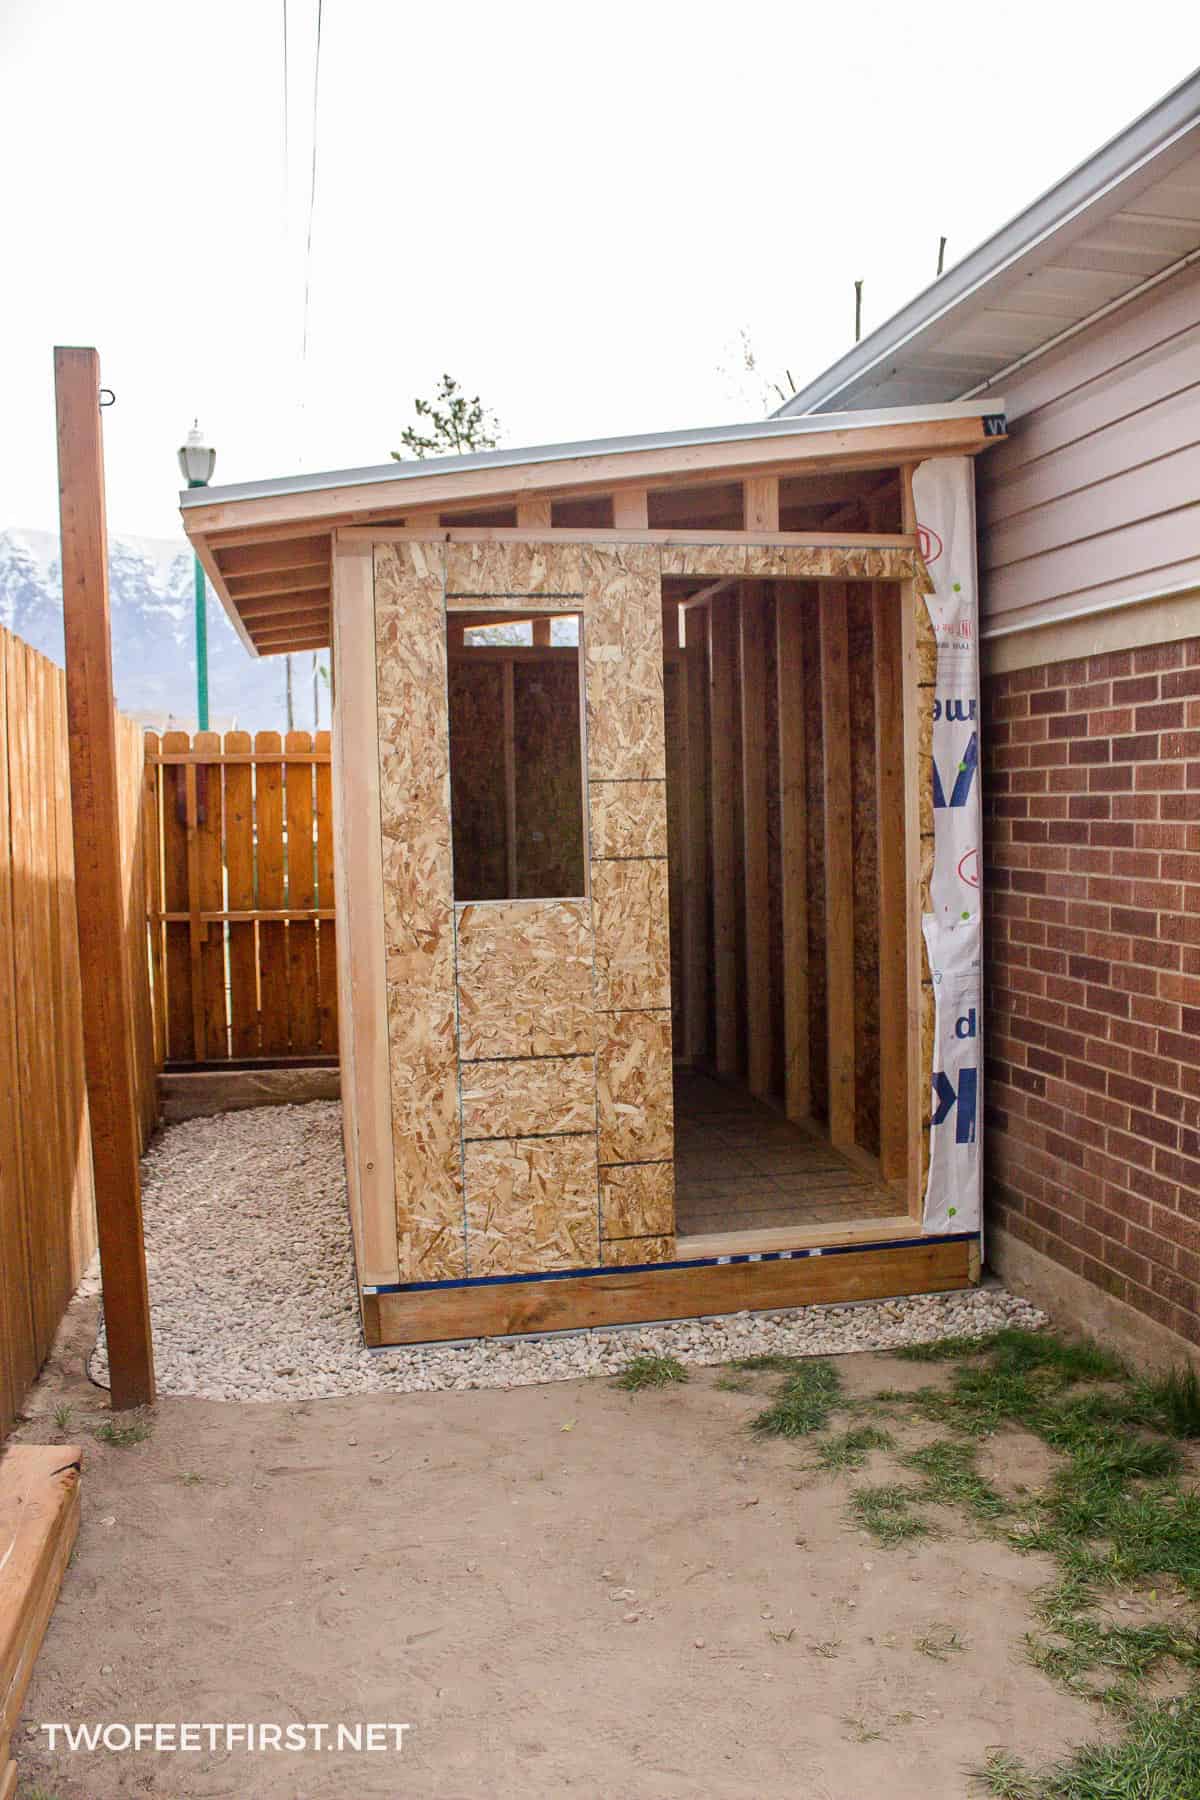
Erecting the Walls and Roof
Once the posts are set, construct the side walls using your reclaimed lumber. Use longer, stronger pieces for the vertical supports, and shorter pieces for horizontal bracing. Secure everything tightly with screws or nails. For the lean-to roof, you'll need to attach rafters to the back wall and the supporting structure on the existing building or wall that your shed will lean against. Remember to use a level to ensure everything is plumb and square. Ensure sufficient overhang for protection from the elements.
Adding the Finishing Touches: Bringing Your Shed to Life
With the frame complete, it’s time to add the finishing touches. First, cover the roof with plywood or reclaimed sheets of metal. You can then apply roofing felt and shingles for water protection. Second, add siding to the walls, using your reclaimed wood creatively. Consider mixing different types and sizes for a rustic look. Finally, consider adding a door using recycled lumber and suitable hardware. You can enhance the shed with a coat of weather-resistant paint or stain to match your existing structures or to create a striking visual appeal.
Essential Tips for Success
- Prioritize safety: Always wear appropriate safety gear.
- Check your wood thoroughly before using it to avoid hidden defects.
- Use quality fasteners: Invest in robust screws and nails.
- Work with a friend: It's safer and more efficient.
- Enjoy the process: This is a rewarding project!
Building your own lean-to shed with recycled wood is a sustainable and satisfying project. With careful planning and execution, you'll end up with a valuable addition to your property, a testament to your resourcefulness and craftsmanship. So, gather your tools, reclaim that wood, and start building your dream shed today!
0 comments:
Post a Comment